1. Use of copyright protected data
The CLARIAH Media Suite contains material that is protected by intellectual property law. This material is only permitted to be used within the Media Suite environment. It is therefore expressly forbidden to duplicate and/or publish this material, regardless in what form, for example by downloading material or by making a screenshot (photo of the screen) or screencast (film of the screen), without the explicit permission of the rightsholder.
2. Privacy
We, the Netherlands Institute for Sound and Vision, process personal data belonging to our (website) visitors and clients. We do this in order to help our visitors and clients as best possible, and to achieve our strategic goals. In this privacy statement we explain why, and in what way, we process your personal data.
Who are we?
The Netherlands Institute for Sound and Vision is the tradename of the Foundation Netherlands Institute for Sound and Vision. We are located at Media Parkboulevard 1 (1217 WE), in Hilversum. We are registered in the Chamber of Commerce under the registration number 41194855. Your details are handled carefully and protected satisfactorily. We do so in accordance with the General Data Protection Regulation (GDPR) and other applicable regulations.
How do we collect personal data?
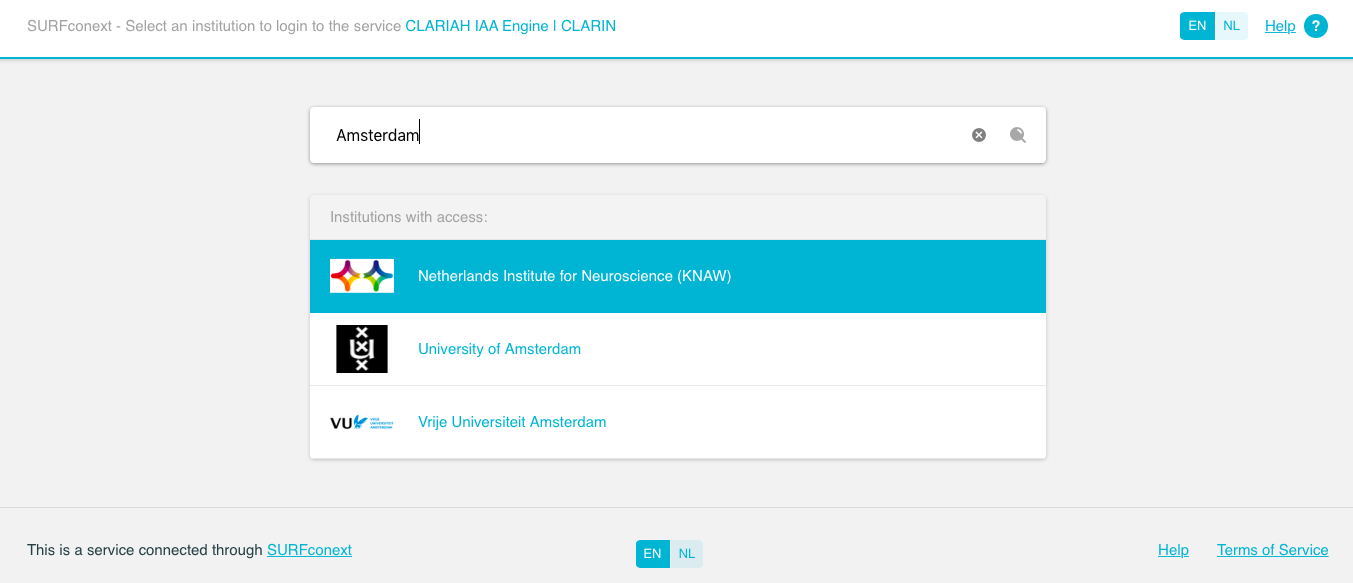
We get the personal data that we process on our website visitors from our identity providers when you log in on our website. You can find a list of all identity providers
here
.
Do we also use cookies?
Sound and Vision uses cookies. A cookie is a small file that we send with the webpage, and that your browser stores on your computer. For example, we use cookies to analyse how the website is used, and to remember settings and preferences when you visit our site.
Why do we store cookies?
We use cookies to optimise the functioning of our website, and to offer you a better visitor
experience.
There are different sorts of cookies:
1. Functional cookies
This site stores cookies on your computer that are related to the functioning of the website. The aim of these cookies is to optimise the user experience by storing your preferences. In no way do these cookies store sensitive data. According to the current cookie regulations, they may be stored without permission.
2. Analytical cookies
We store analytical cookies from Matomo on your device. We use these cookies to register which pages you visit, whether you have visited them before, and, for example, which device and browser you use to do this. In this way, we can offer you the best experience when you are searching for information on our website. This data is anonymous, and is not linked to your name, address, email address or other personal data. Your IP address is also anonymised.
Which data do we process?
We process the following personal data from our website users, in so far as we receive this from the identity providers:
-
name, (email) address
-
IP address
-
details of the group you belong to (e.g. employees or students) and your position.
In addition to this, we process personal data belonging to the persons who appear in the archive material that is offered on our website. In principle, these can be all types of personal data, including special categories of personal data.
What do we process this data for?
We process your personal data for the following purposes:
-
To provide archive material to researchers: if you are logged in, then you can access archive material.
-
To improve our services and bring them to people's attention.
On what basis do we use the personal data?
Our processing of your personal data for the above-mentioned purposes has the following legal basis:
-
carrying out the agreement(s) regarding the provision of various functionalities for the purpose of making archive material available.
-
the legitimate marketing and research interest that we have in improving and drawing attention to our Media Suite service.
How long do we store your data?
We don’t store your data for longer than is lawfully permitted, lawfully required and/or necessary for the purposes for which the details are processed. How long certain data are stored is therefore dependent on the nature of the data and the purpose for which they are processed. The storage period can therefore vary per purpose.
Is your data shared with other parties?
NO, your data is not shared with other parties.
How is my data protected?
We have taken appropriate technological and organisational steps to protect your data against loss and against use contrary to the rules. We constantly keep up to date with the current situation regarding technological protection of personal data and will do everything possible to prevent the loss or unlawful use of personal data. We do our very best to protect ourselves against the activities of 'hackers'. However, we cannot guarantee this protection, due to continual technological advances.
Your rights
You have a number of rights. These are:
-
Right of access and to be informed: you can ask us which details of yours we have and use. We will then gladly tell you more about how and why.
-
Right to rectification: do you think we have incorrect details about you? Let us know, then we will correct them.
-
Right to erasure: you can request us to remove the data belong to you that we have and use. In most cases we will comply with this request, but it is possible that we still need to process the details for other purposes (e.g. administration).
-
Right to restrict processing: if you think that we are unlawfully or incorrectly processing your data, then you can ask us to stop using your data until we can sort it out.
-
Right to object: You can object to the use or storage of your data. We will then see if we can stop processing, or delete your data. Do you object to the use of your data for marketing purposes? Then we will stop the processing as soon as possible.
-
Right to data portability: You can request us to hand over the data we process on your behalf.
In addition, you can also:
-
Submit a complaint to the Dutch Data Protection Authority (DPA): Do you think we are not acting in accordance with the rules? Then please let us know. You can also submit a complaint about this to the DPA.
Where can I go with my questions?
If you have questions about our processing of your personal data, or if you want to make use of one or more of your legal rights, then contact: