Tutorial: Searching, annotating and linking for film historical research
Tutorial for CLARIAH Media Suite V5.3 Tutorial made by Christian Olesen, November 2020
Tutorial Description, Case and Objectives
This tutorial introduces you to using the Media Suite’s annotation and linking functionalities in film studies teaching and/or film historical research. Upon completing this tutorial, you will know how to use the Media Suite for:
-
Building a corpus consisting of films and related materials from different collections available in the Media Suite
-
Annotating video items on item and segment level to add your own comments, tags and linking them to related materials
-
Annotating paper items on item and segment level to add your own comments, tags and linking them to related materials
The tutorial revolves around the case of the film Filibus (Italy, 1915), preserved in Eye Filmmuseum’s Jean Desmet film collection and embedded in the Media Suite. The film has been restored several times by Eye and remains a popular title at film festivals and among film historians. However, it is a film whose production and exhibition context history remains unclear. Several filmographic details - for instance who played in the film as well as the history of its production company Corona Film - remain unclear. For these reasons, it is an interesting film to dive into using the Media Suite’s search, annotation and linking functionalities to study film and paper items in the Desmet Collection to try to find more information about the film’s production and distribution history.
Types and levels of teaching and research
This tutorial supports key analytical skills of basic film and cinema historical research. Using the Media Suite’s annotation and linking functionalities, you will be able to contextualize filmic sources by linking them to film-related sources as well as to carry out basic aspects of analytical film segmentation. The tutorial is intended for (and has been tested with) students at BA-level (first year) and on MA level. In addition to students and researchers working in film studies, the tutorial may also be used in other fields where building, annotating and linking corpora consisting of different media items are necessary skills, such as for instance qualitative analysis research.
Prerequisites
This tutorial requires little to no prior familiarity with the Media Suite and can be followed by first-year students.
Steps
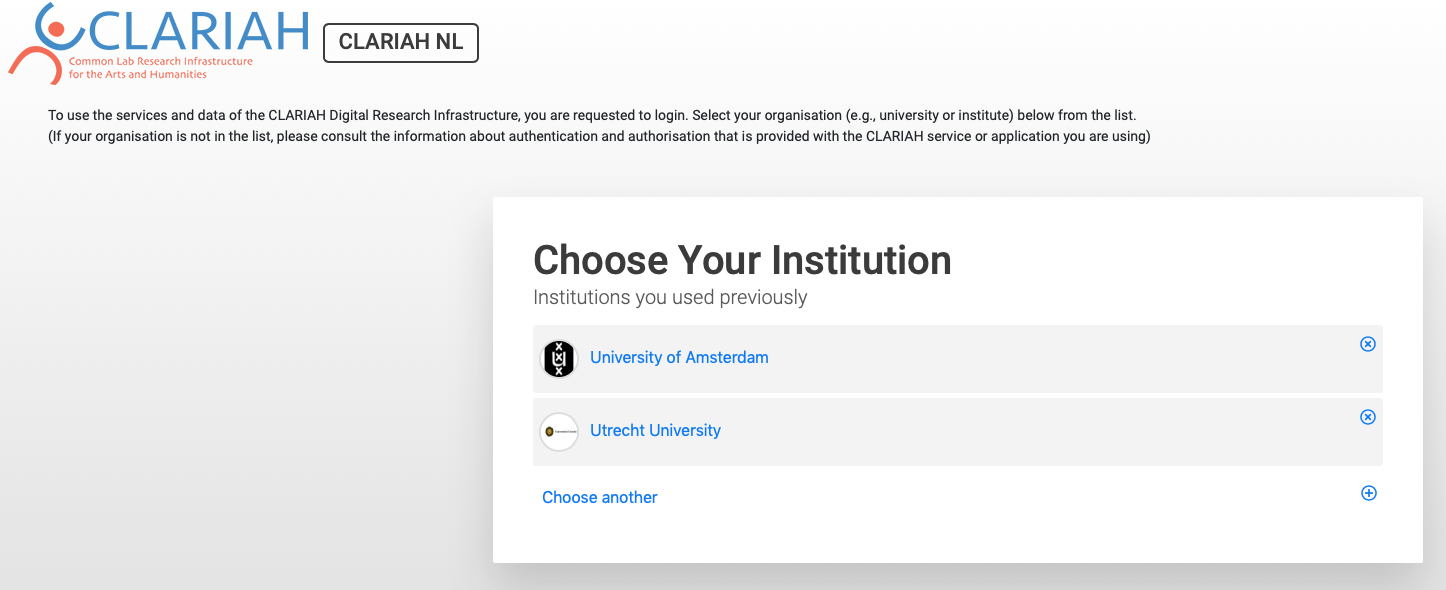
1. Accessing the Media Suite
-
Before you can build a corpus you first need to log in to the Media Suite. In order to do so, first go to mediasuite.clariah.nl
-
Click on the “Log in” button (top right of the page)
-
In the SURFConext interface, search for the name of your institution, or scroll through the list
-
Select your institution
-
Use your institutional credentials to log in, wait until the service connects (NB when logging in the first time, you will have to accept Terms of Use and Privacy)
-
You will now enter the Media Suite workspace
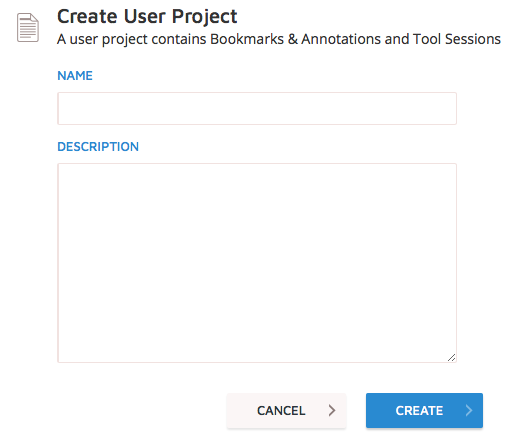
2. Create a project
-
After having logged in, you need to create a user project
-
In order to so, hover over the “Workspace” tab
-
From the drop-down menu, choose “Create User Project”
-
Name your project and add a project description (as you will be working with Filibus (1915) in this tutorial, you may for instance call the project “Filibus” and add a description that describes your project’s aims)
-
Click the “Create” button
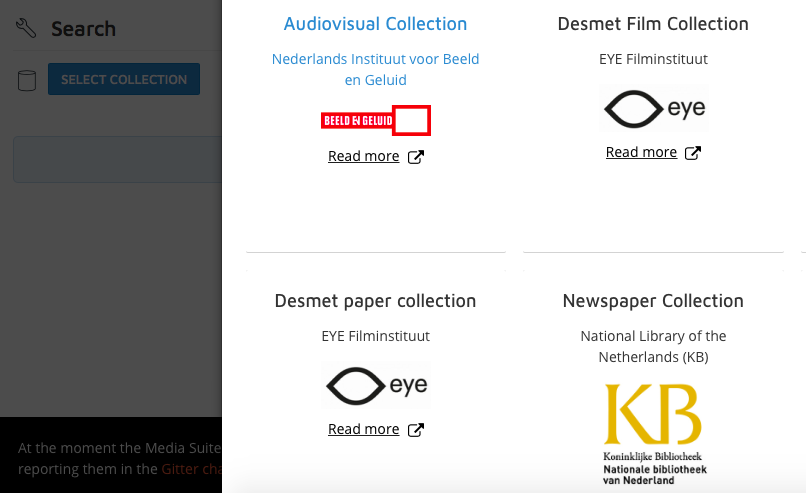
3. Find and select film with Search tool Desmet Film Collection
-
Now you can begin building your corpus
-
Hover over “Tools” tab and select “Search” from the drop-down menu
-
Set active project in upper left corner and choose the project you just created for your research on Filibus
-
Next, you need to add a film item to your corpus. To do so, click “Select Collection” in the upper left corner
-
Select “Desmet Film Collection” from the drop-down menu (see image above for an illustration of how this should look like)
-
Search Filibus, click on the film and bookmark the item in the viewer. By bookmarking the item, you enter it into your corpus
-
In order to bookmark the item click “Bookmark resource” - bookmark window opens
-
Add the item to a bookmark group in the bookmark window. If needed create a bookmark group, for instance “film materials”, since in this case you are adding a film title to your corpus
4. Search tool Desmet Paper Collection I - finding the collection

-
After having added the Filibus film to your corpus, you need to add related contextual paper materials
-
To do so, open a new tab in your browser and go to mediasuite.clariah.nl. In this way you will be able to search film and paper materials simultaneously in two different tabs
-
You may organize the tabs in the following way: Tab one: Desmet Film Collection; Tab two: Desmet Paper Collection *After having created the two tabs, you can begin searching for paper sources related to Filibus and add them to your corpus. *To do so, first hover over “Tools” tab
-
Select “Search” from the drop-down menu
-
Make sure to set the active project in the upper left corner and that you choose the project you created for your Filibus research so as to add film and related items to the same project
-
Click “Select Collection” in the upper left corner
-
Select “Desmet Paper Collection” from the drop-down menu (see image above for an illustration of how this should look like)
5. Search tool Desmet Paper Collection II - searching the collection
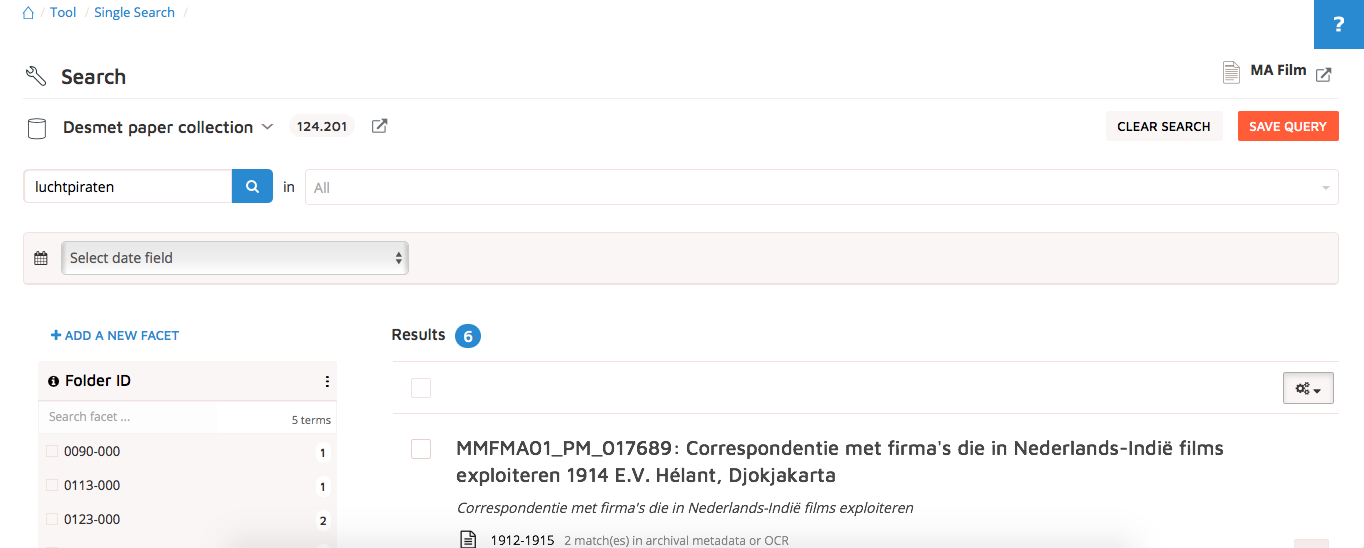
-
You are now ready to add paper materials to your corpus. Moreover, you have created two open tabs that you can use to search the two chosen Desmet collections simultaneously or to view items in the two collections next to each other so as to be able to establish connections between them
-
Try multiple Filibus-related search terms in various combinations. There are several relevant terms you can use, to get started you may try the following: “Luchtpiraten”, “filibus”, “geheimzinnigen”
-
Try to make a boolean query with these terms
-
Add Boolean query operators such as: AND, OR, NOT, Asterisk, Parentheses, Quotation Marks (if you need an introduction to the use of Boolean operators, you may consult the Media Suite Boolean query how-to guide which can be accessed via this link: https://bit.ly/2WLTWOK
-
Take a moment to play around with creating different queries to see what works best for you and reflect on what gives the best results
-
By clicking on items listed in the search results, you may view scanned paper documents in high resolution and annotate them (we will get to that part in a minute) Remember to bookmark items that are relevant to Filibus in order to enter them into your corpus
6. Search tool Desmet Paper Collection III - storing and retrieving queries
-
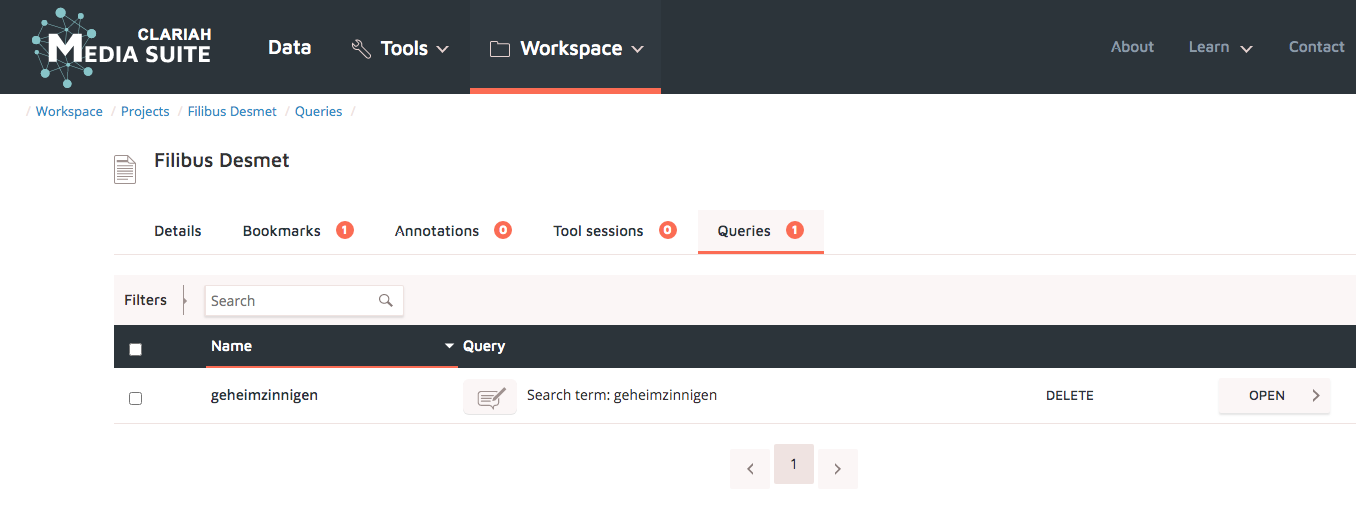
After you have created and tried different search queries, you may want to save some of your queries for later. Doing so allows you to reproduce and find many of the items that came up in your previous searches (NB: please note that even though saving queries allows you to largely the same results as in previous searches, the results may also differ, for instance when new data or new items have been added to the Media Suite since you last used it the research results will be different)
-
In order to save one or more query parameters (including search term, filters, etc. that you have used) click “Save Query” button in the upper right corner. A window appears which allows for naming your query and confirming that you wish to save it. After having saved the query, the query will appear in the project overview in your personal workspace (for an example of how this looks, see the image above)
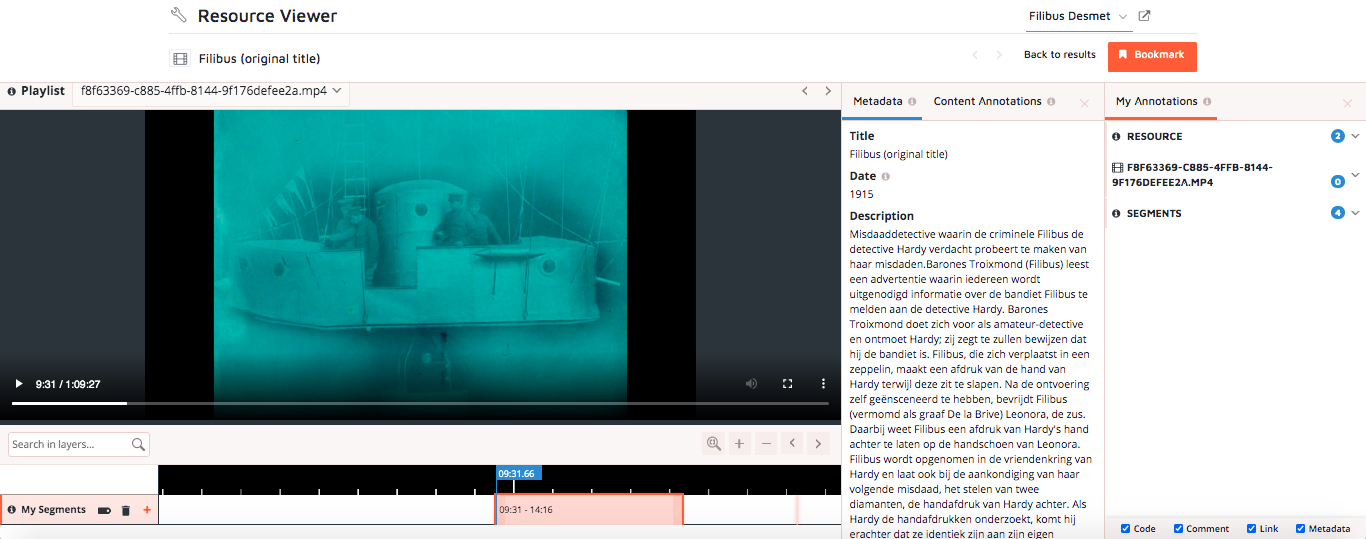
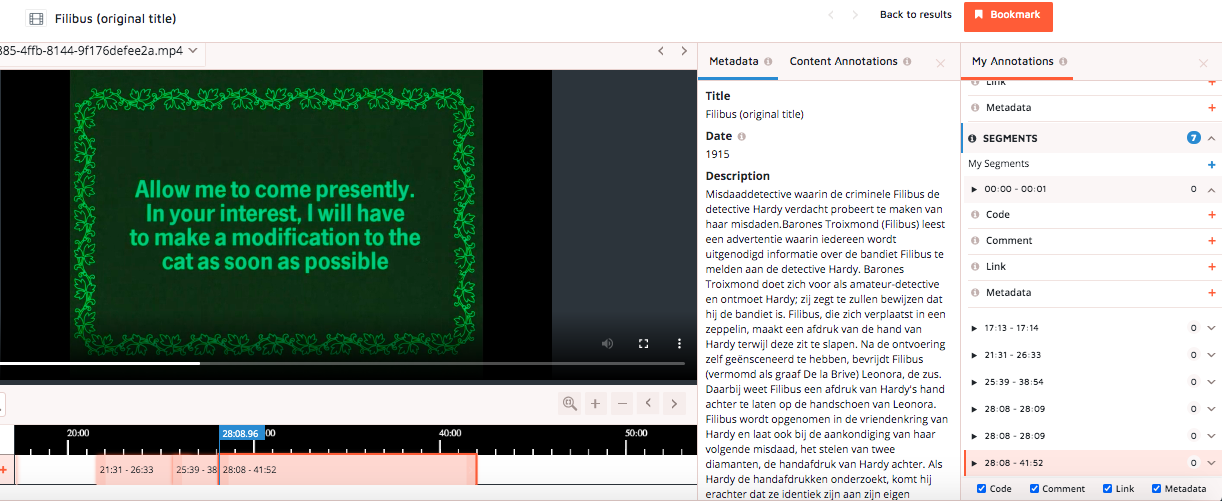
7. Annotate a video item - item level
-
After having worked with the Desmet Paper Collection for a bit and saved queries, you now need to go back to the browser tab in which you have the film Filibus open in order to begin annotating the video material(s) in your corpus
-
In the Media Suite, you can annotate items on item level and on segment level. By annotating on item level you add an annotation relating to the whole item. By annotating on segment level you add an annotation to a specific selection of that item.
-
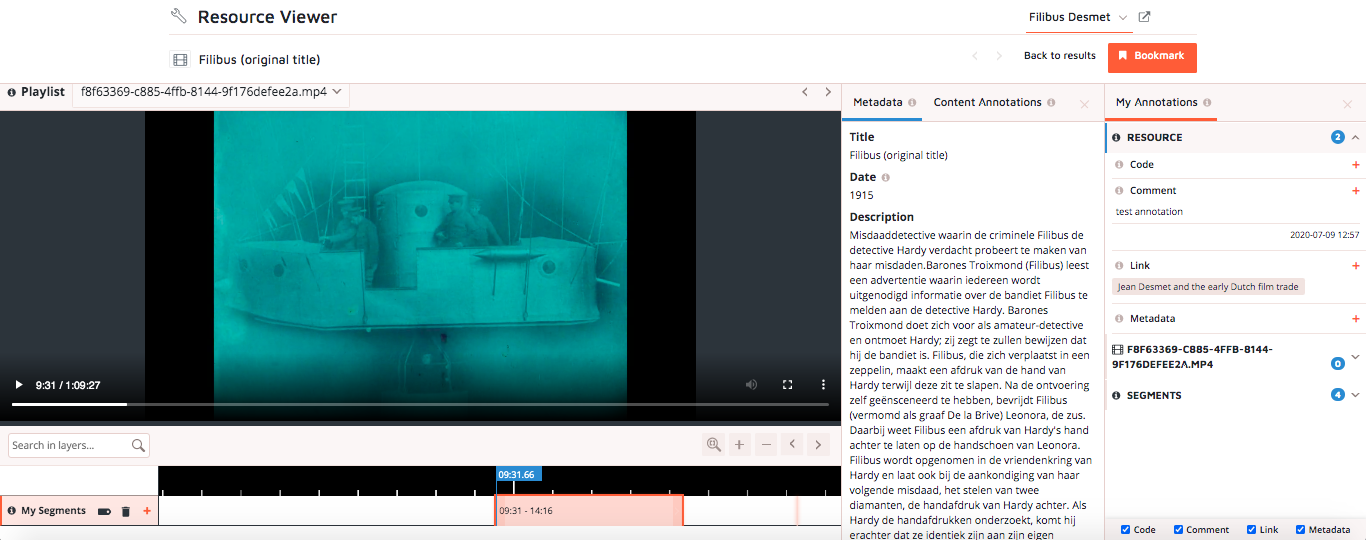
In this step you will be annotating on item level In order to annotate on item level, go to “My Annotations” part on the right-hand side of the screen and click on “Resource”.
-
Clicking on “Resource” opens a drop-down menu with four options: “Code”, “Comment”, “Link” and “Metadata”. “Code” allows you to label the media item using terms from existing thesauri (such as GTAA and UNESCO) or using your own custom-made taxonomy. “Comment” gives you the possibility to enter your own comments about the item without a set word limit. “Link” allows you to include links to items in the Media Suite or outside of it. “Metadata” allows you to devise your own metadata scheme for the item. Try to use the different options and add annotations to the item with them. Once you have added annotations they will appear in the project overview in your workspace just as your saved queries.
8. Annotating a video item segment level 1 - creating a segment
-
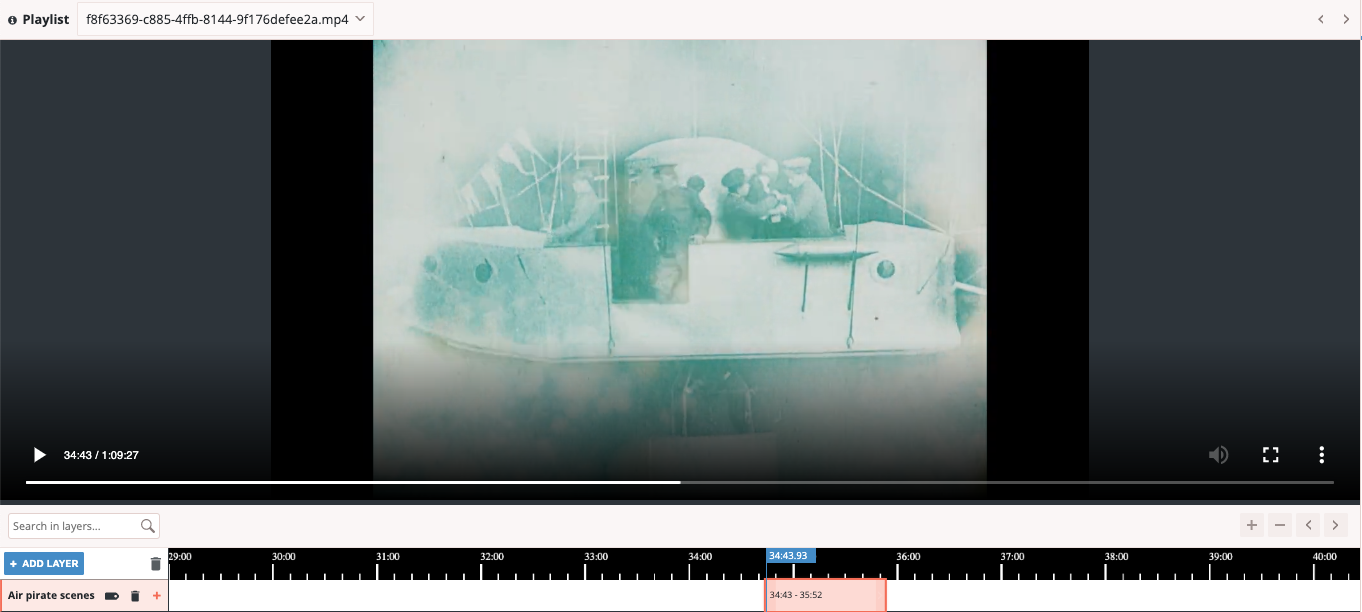
Once you have added annotations on item level, you are now ready to take the next step and make annotations on segment level. In order to do so, you first need to create a segmentation layer . In a segmentation layer, you group together manually created segments according to for example a motif or a theme. You create a segmentation layer by clicking on “ADD LAYER” on the left hand side below the video player (see image above) and you can give the layer a name by double-clicking on the layer’s text box.
-
To subsequently create a segment, first pause the video where you want to begin the segment. After having chosen a meaningful beginning point press “i” (“i” stands for “in”). A red line/time marker will appear at the point chosen.
-
Subsequently, you need to choose an endpoint for your segment. Use the cursor to choose an endpoint and press “o” (“o” stands for out) to confirm the end point. Alternately, you may simply drag the end point of the segment using your mouse to set the end point (the same goes for the beginning of the segment). You have now created a segment.
-
In order to make a new segment, you neeed to press the “+”-symbol in the layer you just made, or create a new layer consisting of new segments (see image above). This is important, because it makes sure that your segment is saved. If you proceed to setting new in and out points using the “i” and “o” keys without first pressing “+” you will end up modifying the segment you just made instead of creating a new one.
9. Annotating a video item on segment level 2 - annotating a segment
-
Now you have created a segment in your video item and are ready to annotate it On order to do so, you first need to find and select the segment in the “Segments” overview in the “My Annotations” column on your right hand side
-
Click on the segment from the “Segments” overview that you wish to annotate Upon clicking, a drop-down menu will appear with the same four options that was offered for annotating on item level (“Code”, “Comment”, “Link” and “Metadata”)
-
Using these four options, you may annotate the segment in a similar fashion as when you annotated the item. You may enter anything that seems relevant for your analysis of Filibus either on content level or contextual information that you have found in film-related sources.
-
Saved annotations will appear in the project overview in the workspace
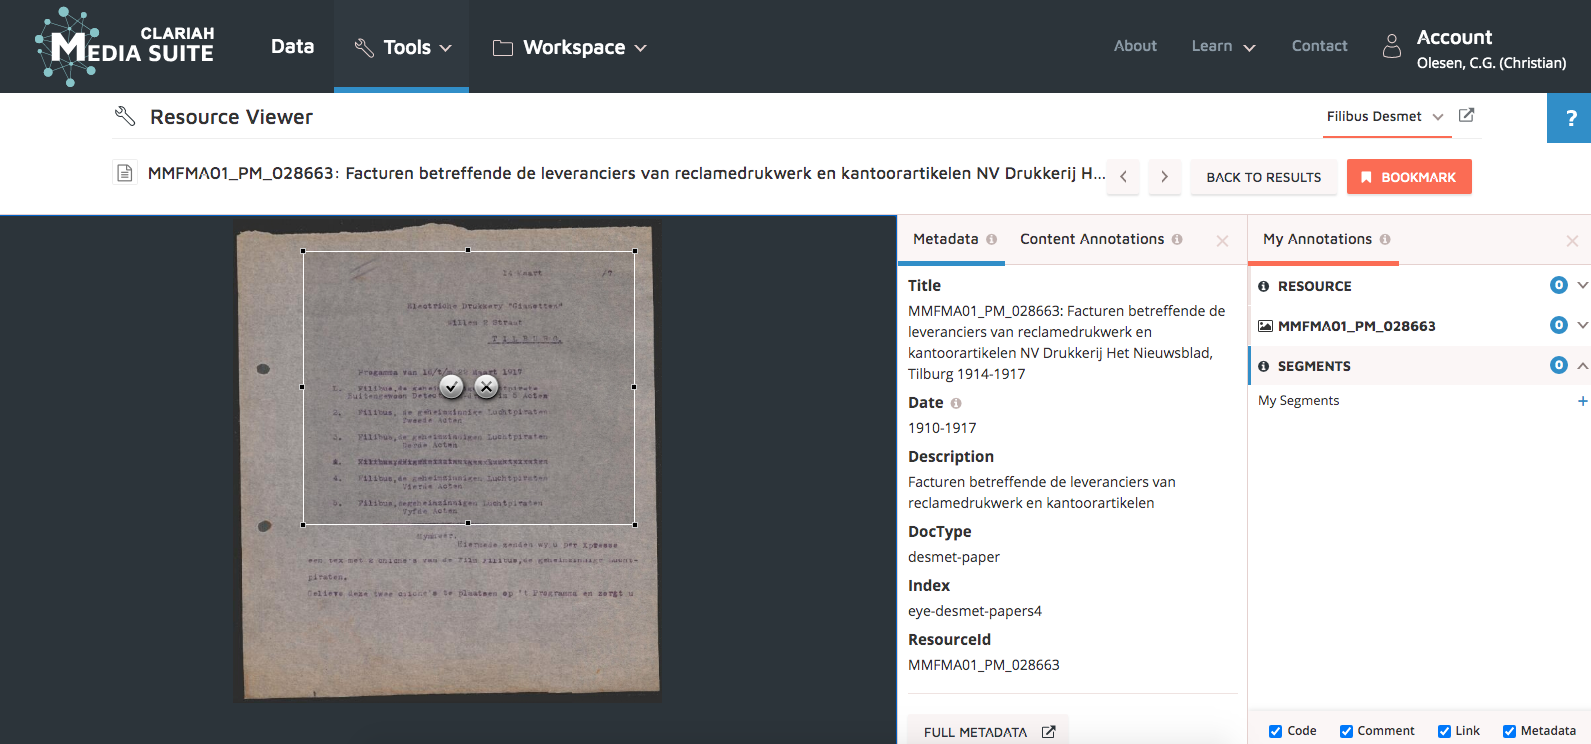
10. Annotate image section 1
-
The next step is to annotate an image in the Desmet Paper Collection
-
To do this, you need to go back to the browser tab in which you searched the Desmet Paper Collection
-
Choose an item from one of the results of your searches (in the image above can be seen a document relating to the promotional material for Filibus)
-
In order to create a segment in the image press press the square symbol appearing in the image viewer’s toolbar to “Toggle selection” and subsequently define a region of the image that you wish to select
-
Once you have defined a region press the check mark symbol in the selection to confirm that you wish to save it as a segment. The segment now appears in “Segments” overview of the “My Annotations” column.
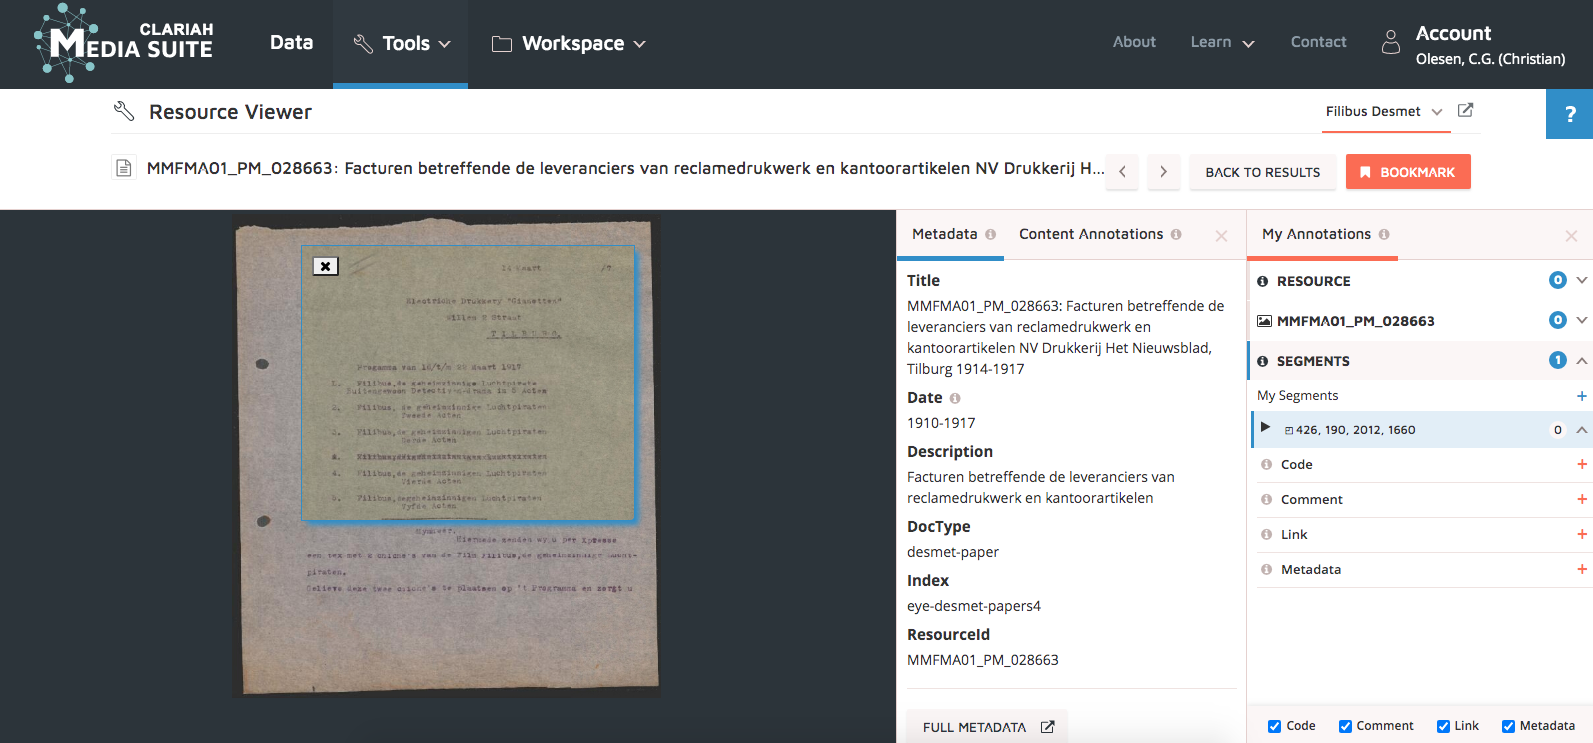
11. Annotate image section 2
-
Now you have created a segment in your image item and are ready to annotate it
-
In order to do so, you need to find and select the segment in the “Segments” overview in the “My Annotations” column
-
Again, a drop-down menu will appear with the same four options that was offered for annotating a video on item and segment level in the previous steps (“Code”, “Comment”, “Link” and “Metadata”)
-
Using these four options, you may annotate the segment in a similar fashion as when you annotated the item. You can use these functionalities, for instance to point out links between the film and related items so as to summarize your findings and offer context on Filibus
-
Saved annotations will appear in the project overview in the workspace
-
That’s it! Well done, you now know how to search, annotate and link items in the Media Suite, using the Jean Desmet Collection’s Film and Paper collections